
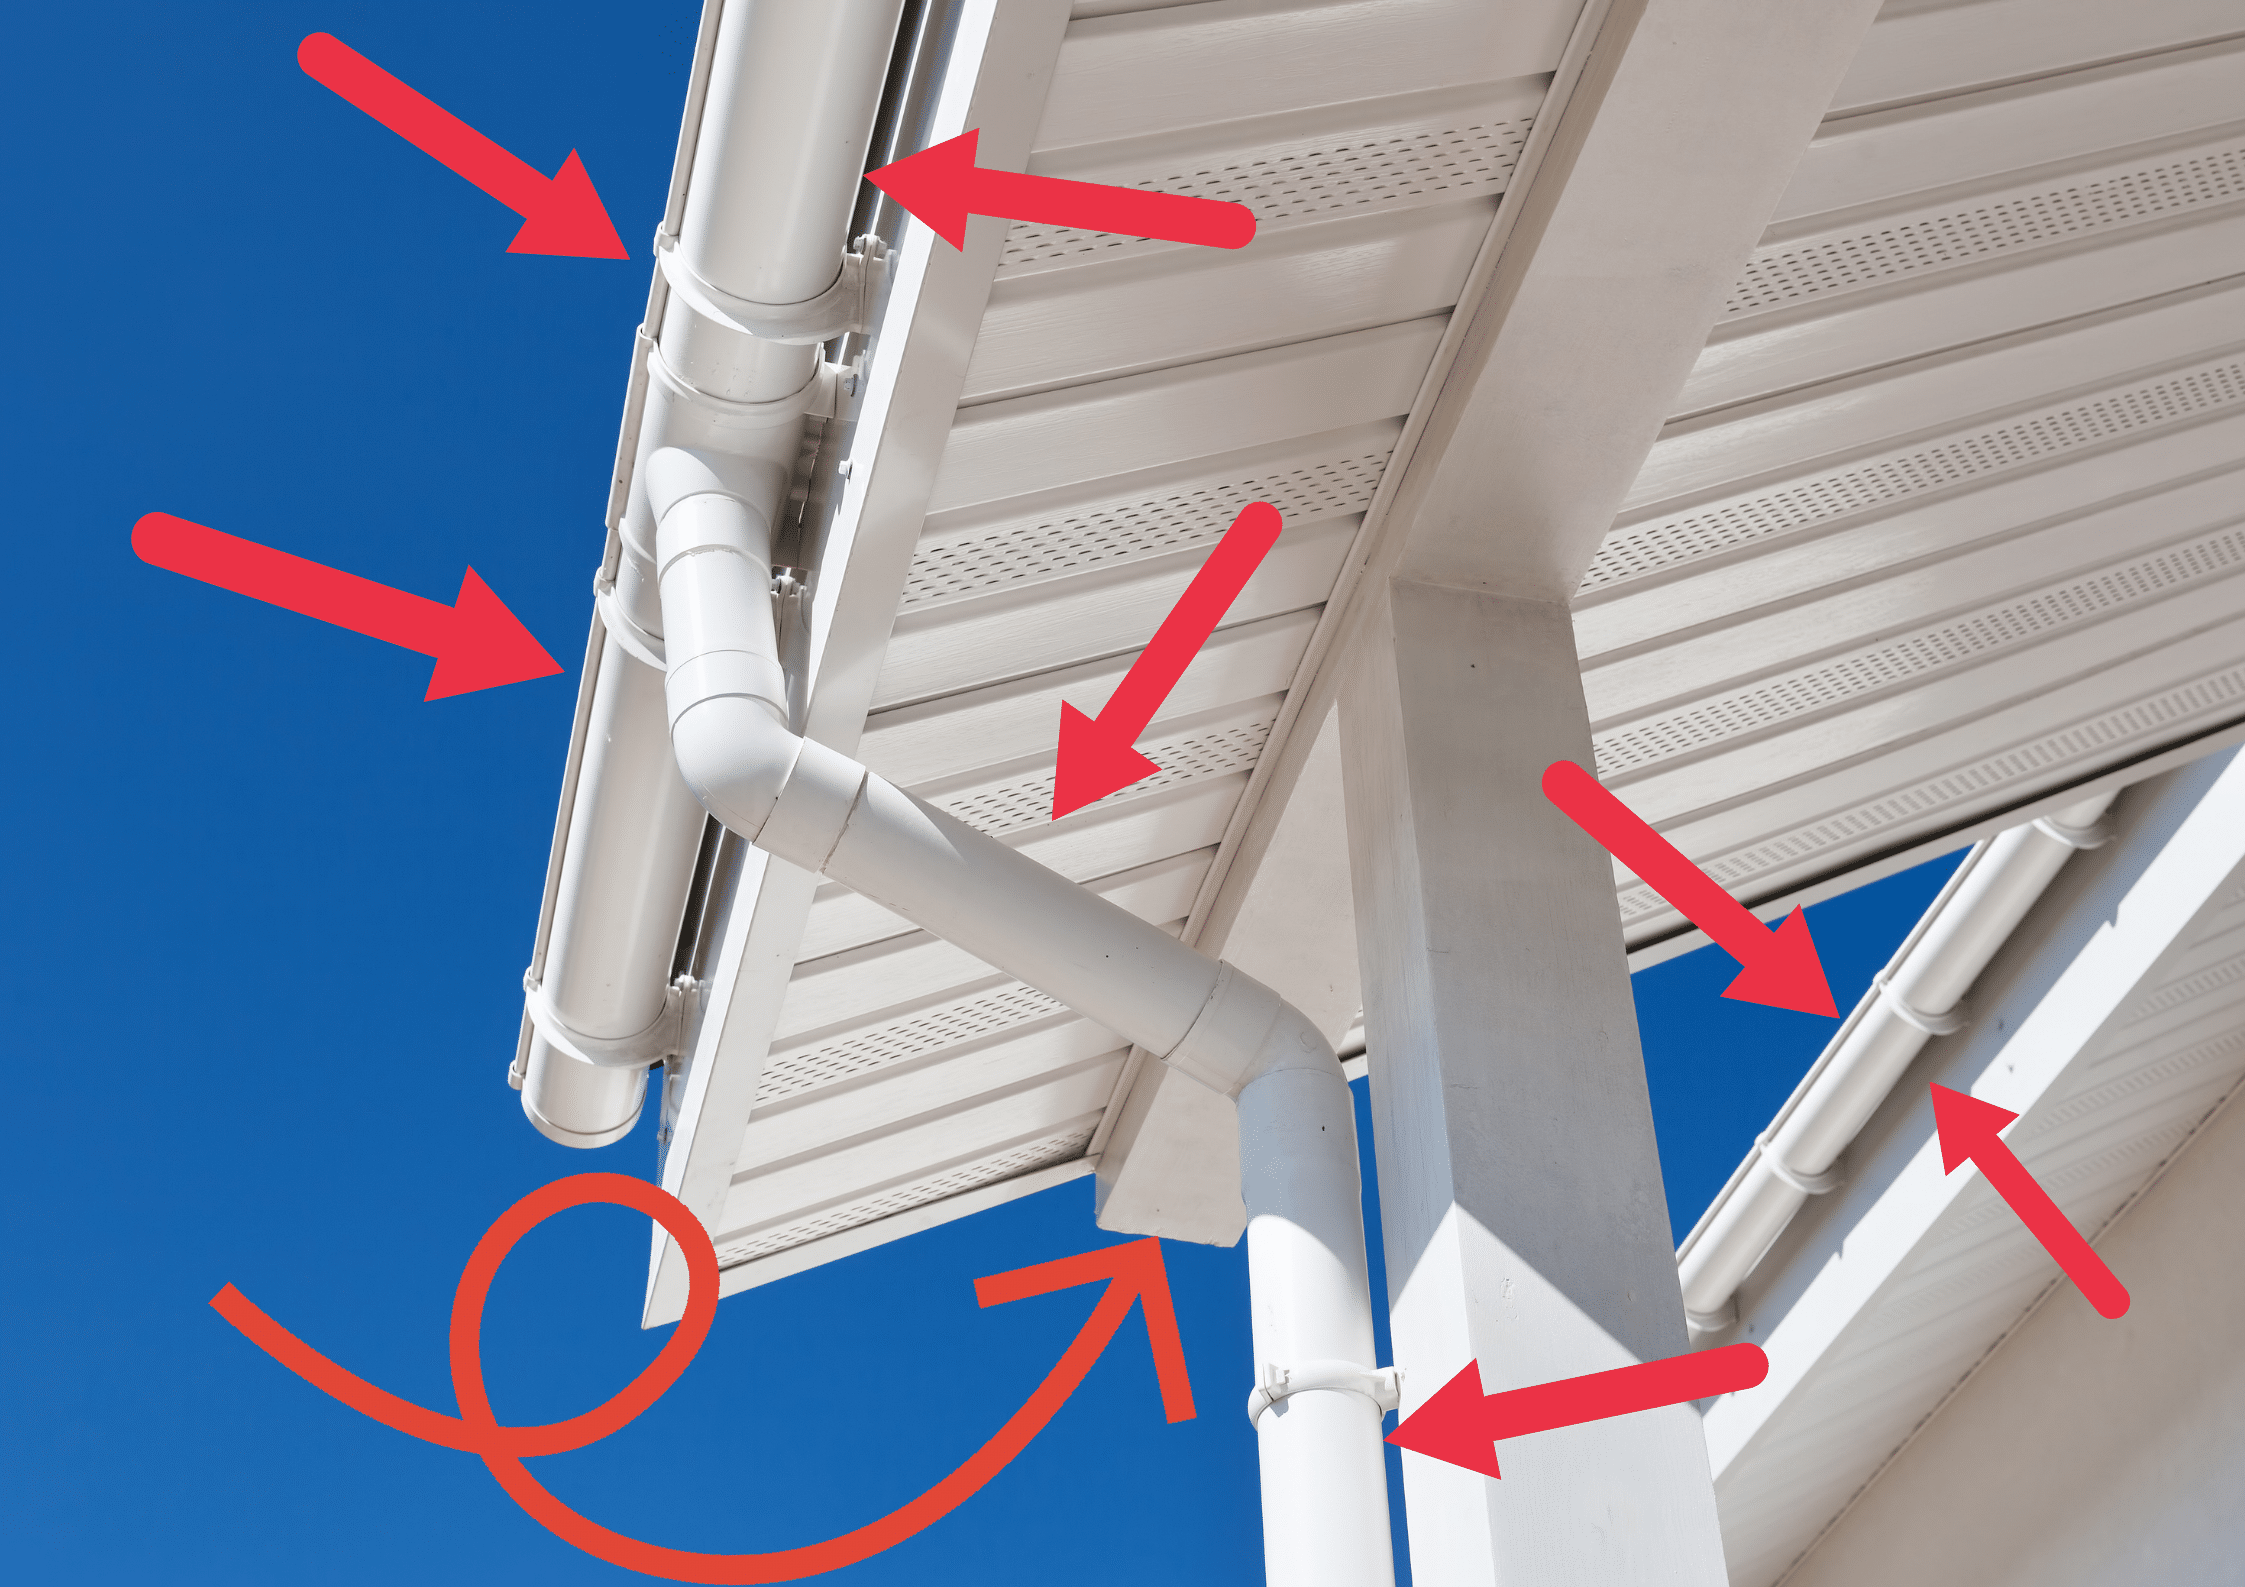
Gutters are a simple part of any house that is often overlooked. They provide protection from rain and snow for the exterior siding of your home by channeling water away from your foundation.
Painting gutters is an easy process, but it pays to do some research before beginning in order to find out what type of paint will best protect them. We also have a list of other tips and tricks for maintaining a healthy gutter system so you don’t have future problems with the help of mold or mildew buildup.
This blog post contains helpful information about how to paint gutters including: the reasons why you should paint your gutters, how long it will take, materials needed and where they can be purchased.
1. Decide If You Need A Paint Job Or New Gutters.
Gutter systems are typically made of aluminum or galvanized steel that has been welded together to form an enclosed channel in which water flows from your roof downspouts into rain barrels and away from your home.
Gutters also divert leaves and debris away from the edge of your building’s foundation where it could collect and cause problems over time. The material used to line gutters can be metal, aluminum, stainless steel, or plastic like PVC.
Whether they need painting depends on how much exposure they’ve had to sunlight and whether there’s any rust on them already. Determine if they are in good shape and function by inspecting them closely for any damage or wear. If there’s too much rust- it may be time for a replacement.
2. Gather Supplies.
What do you need to paint gutters? A ladder, a brush, and paint! Gather your supplies then read on for instructions.
It’s finally time to do some spring cleaning, and what better place to start than at your house. One of the first things you’ll need is a ladder to reach up high enough for this job — so grab one and get ready!
After that, head over to your local hardware store or home improvement center and ask for an assortment of different paint colors. You’ll also want brushes with long bristles as well as a couple of paint rollers. Make sure they have good quality paints because it will be worth the extra money in the end! And don’t forget about safety gear like masks, gloves, goggles — the whole kit! Once you’ve gathered all these supplies go back home and get started on preparing the area.
Choosing the right colors for your home’s gutters is a lot easier than you would think. The main reason people find it difficult to choose colors is because they don’t know what color their house will be painted.
If you are looking to have a darker color on the outside of your home, then black or brown is perfect! But if you want something lighter, like white or light blue, then that can also work.
3. Prepare The Area By Covering Any Furniture, Plants Or Other Items That Might Get Paint On Them.
It’s important to prepare the area by covering any furniture or other items that might get paint. If you are painting a gutter, it can be difficult to cover everything and have enough room for all of your supplies.
To avoid this problem, use painter’s tape to secure an old sheet or tarp around the area where you will be working. Paint will stick to most anything it touches, so if you don’t cover your floors with drop cloths or plastic sheeting before starting any work on the outside of your home, there’s a good chance they’ll end up dirty and in need of cleaning. Make sure that everything is covered first!
You should also prepare for an outdoor project like this by wearing clothes that are appropriate for outside work: long pants, a shirt with sleeves, closed toe shoes or boots and gloves is possible.
4. Clean Gutters
A lot of people don’t know that it’s important to regularly clean out their gutters because they usually only notice them when there is a problem with them like water leaking down the side of the house or clogs in the rain spouts.
This can cause problems for neighbors and create a mess on your property if left untreated. Cleaning your gutters is an easy process that doesn’t take much time at all and will help avoid future problems!
Here is how you can clean them:
5. Strip Old Paint.
Many people paint their gutters once a year, but this is not enough to keep the old paint from chipping and peeling. The best way to strip old paint from your gutters is with a wire brush or scraper. This will ensure that you are getting rid of all the stubborn bits of paint that have collected over time.
It can be difficult to scrape up against the side of your house without damaging it, so using an extension pole for leverage might make things easier (don’t forget to wear gloves). Once you have scraped off as much as possible, use mineral spirits on any remaining pieces and wait until they dry before scraping again.
You can also sand down your gutters. Use a good quality sandpaper with metal grits of 80 or higher. Before you start using the sandpaper try some water-based detergent on it first to clean off any oil residue from previous jobs and then wipe it down with acetone afterwards so that there is no residual solvent left behind which can cause skin irritation.
If you’re scared you might scratch the metal, you can use a putty knife instead. A putty knife is made of hard plastic and has an edge that is flexible but stiffer than rubber. This makes it perfect for scraping off old paint without scratching metal surfaces like gutter material.
The blade should be at least 2 inches wide and 4 inches long so that you have enough surface area to work with when removing heavy layers of dried up paint or tar residue left over from tree sap in the spring.
6. Check To See If There Are Any Loose Seams Or Joints.
Make sure the gutter installation was done correctly; if not, loose seams or joints may have been created when installing the gutters which will lead to leaks in time. To prevent this from happening make sure all seams and joints are sealed properly with joint compound.
In order to seal joints, you will need a brush and silicone caulk. Apply the compound in a thick layer (roughly ⅛ inch) on top of the seams. Then use your paintbrush to apply it evenly over the entire surface, pushing it into all of the cracks and crevices. Once this is done, wait for 10 minutes or so before applying another coat.
You should repeat these steps until you have applied 3 coats, each time waiting about 10 minutes between applications.
7. Measure The Width Of The Gutter From One End To The Other.
Measuring the width of your gutters is an important first step in painting them. The distance from one end of the gutter to the other will determine how many paint stripes you’ll need to create a professional and finished look.
You can measure with a measuring tape or ruler, but if you’re not precise, it’s best to use a chalk line as this will ensure that your lines are straight and even.
Applying enamel paint for an extra layer of protection is a good idea. Enamels are different from other paints because they offer excellent corrosion resistance and durability which means that your gutters will last longer. It will also help keep moisture from getting into cracks in the metal even when they are exposed to freezing temperatures during winter months.
8. Cut A Piece Of Painter’s Tape And Put It Across Where You Want Your First Row Of Paint Lines To Be.
Painters tape is great for painting gutters because it provides a crisp, straight line. This will help you get an even coat of paint with no drips or runs. To make your life easier, cut a piece of painter’s tape and put it across where you want your first row of paint.
Once the tape has been stuck down on the surface, flip it over so that there is more adhesive than what was originally exposed to attach to the gutter.
When you are ready to remove the painter’s tape after painting, just pull up on one side and then peel off from top-to-bottom in order to avoid any excess paint that may be left behind.
9. Paint A Solid Line Up For About 2 Feet Then Stop Painting.
Painting the gutters this way helps keep debris from accumulating below your roof and causing water damage. It also prevents leaks from forming in the gutter system.
10. Make Sure To Let Dry Before Painting Next Section So Colors Don’t Run Together!
When painting a section of the gutter that is already painted, it’s important to let it dry before adding more paint.
If you don’t let one section dry before moving on to another area, the colors will run together and cause unsightly marks in your work. You’ll also have extra paint leftover with no place for it to be used, which would have been better off used elsewhere like on your house trim or garage door.
11. Remove Painter’s Tape And Start Over Again At Bottom Edge Of Gutter With Another Strip Of Painter’s Tape.
One of the most frustrating things about painting gutters is when you paint over a section and realize you missed a spot.
The only way to fix it is to remove all the painter’s tape, start over again at the bottom edge of the gutter with another tone, or paint around it. Continue doing this until it’s complete. Here’s how you can paint all the horizontal rows needed for each section:
When you paint all of the vertical lines needed before moving on to another row or side of the house, it prevents going back and forth between different sections, which also wastes time in order to complete your project.
12. Let Dry For 24 Hours Before Using Or Cleaning Up After Yourself.
The paint on your gutters is not going to dry if you don’t let it sit for 24 hours. You may be tempted to clean the gutters right away but this is a big mistake! Not only will you risk ruining the paint job, but you’ll also have to go back and retouch any areas that were missed.

Final Thoughts
Maintaining your gutters is the best way to ensure they are working efficiently. However, many people put off this task until it becomes a chore. The most important thing you can do for your gutters is keep them clean and free of debris. This will help with water flow and prevent leaks.
It’s also important that you stay on top of any potential problems by checking for clogs or other issues before they become too big to fix.
If you want to maintain a healthy gutter system, clean your gutters before the end of each season. You can do this by climbing up on your roof and using a pressure washer or other tools to remove any debris.
The process of painting gutters is relatively simple, and the end result can be very rewarding. It’s time to enjoy your newly painted gutters! (Related article: How to Clean the Gutters of Your Home Safely)